How Do I Achieve Defined Waves Using a Three-Barrel Styling Tool?
- Jacqueline Ramirez

- 1 day ago
- 7 min read

There's something undeniably timeless about beautifully defined waves. Whether you're going for a beachy, effortless look or polished retro-inspired glamour, waves have a way of elevating any hairstyle from flat and forgettable to full and stunning. But achieving those perfectly uniform, bouncy waves at home can feel frustratingly elusive — until you learn to use the right tool the right way.
If you've recently picked up a triple barrel waver (three-barrel styling iron) or have been eyeing one at the beauty supply store, you're on the right track. This guide walks you through everything you need to know to go from limp, straight strands to show-stopping, defined waves that actually last.
What Makes a Triple Barrel Waver Different?
Before diving into technique, it helps to understand why this tool creates such a distinct result. Unlike a curling wand or traditional curling iron, a three-barrel styling iron has two or three cylindrical barrels arranged in an offset, wavy pattern. When you clamp your hair between them and glide the iron down the strand, it literally molds your hair into an S-shaped wave pattern.
The result? Consistent, uniform waves that run along the entire length of your hair — not just a curl at the ends or a loose tousle. This is what gives the style its signature look: that perfectly undulating, almost mermaid-like wave texture.
Step 1: Start With the Right Foundation
Great waves begin before you even plug in a heat tool. The prep work is half the battle.
Wash and condition properly. Use a lightweight, moisturizing conditioner, but avoid heavy products that can weigh hair down or make it greasy. Waves need volume and grip to hold their shape.
Dry your hair completely. This is non-negotiable. Applying a hot styling iron to damp or even slightly wet hair can cause serious damage — and it also prevents your waves from setting properly. Always start with fully dry hair.
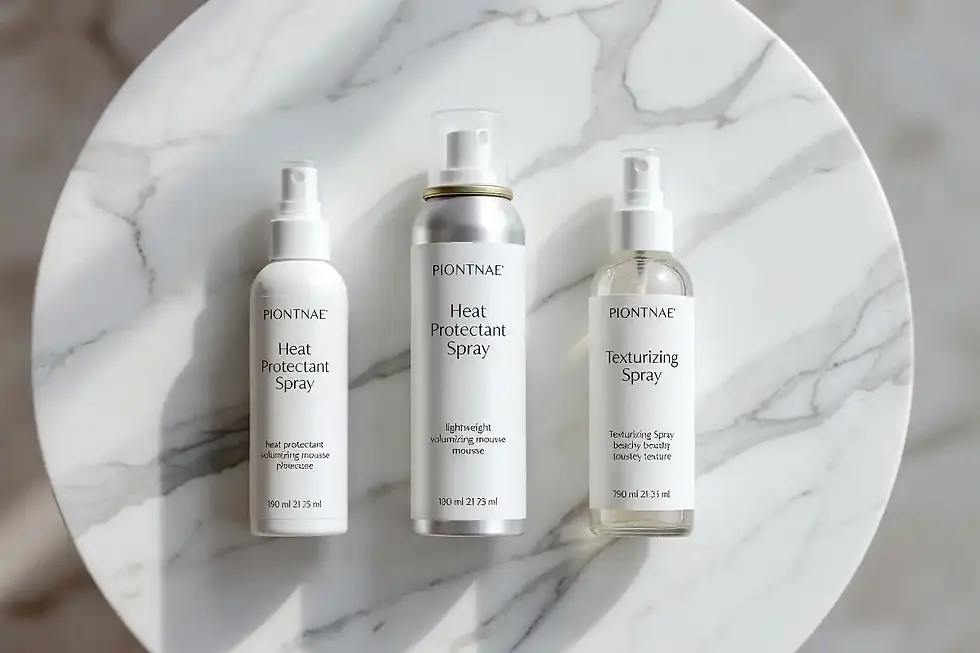
Apply a heat protectant. Spray or work a heat protectant product through your hair from mid-lengths to ends. This creates a barrier against heat damage and can also help your waves hold longer by coating the cuticle slightly.
Add a light mousse or wave-enhancing spray. If your hair tends to be silky and resistant to holding styles, a light-hold mousse or texturizing spray applied before styling gives the iron something to grip. Work it through evenly with your fingers, then gently blow-dry or let air dry completely.
Step 2: Set Up Your Tool Correctly

Temperature matters more than most people realize.
Fine or damaged hair: Stay between 300–350°F (150–175°C)
Medium or normal hair: 350–380°F (175–193°C)
Thick or coarse hair: 380–410°F (193–210°C)
Going too hot won't give you better waves — it'll just fry your hair and create frizz. Give your tool a full 2–3 minutes to reach the correct temperature before you start.
Step 3: Section Your Hair Strategically

One of the biggest mistakes people make is trying to wave their entire head of hair in random chunks. Working in organized sections is what separates professional-looking results from a frizzy, uneven mess — and the key thing to understand is that sectioning is about dividing your scalp into zones, not your hair.
Think of it this way: draw imaginary horizontal lines across the back of your scalp. Each zone is defined by where the hair is rooted, not where it hangs. The actual hair strands will always fall much longer than the zone they came from — and that's completely fine. That's just how hair works.
Divide your scalp into layers, working bottom to top:
Bottom layer — roots along the back of the neck up to about ear level
Middle layer — roots from ear level up to the occipital bone (the small bony bump you can feel at the back of your skull)
Upper layer — roots from the occipital bone up to the crown
Top layer — roots at the very top and front of your head
Clip all the upper layers out of the way and start with the bottom. Everything that grows from that bottom zone — however long it hangs — gets waved first. Then clip it up, release the next zone, and repeat upward.
Width of sections matters too. For tighter, more defined waves, work with thinner sections (about 1–1.5 inches wide). For looser, more relaxed waves, you can go slightly wider (up to 2 inches). Going wider than that usually produces less defined results, especially on thicker hair.
Step 4: Master the Clamping Technique
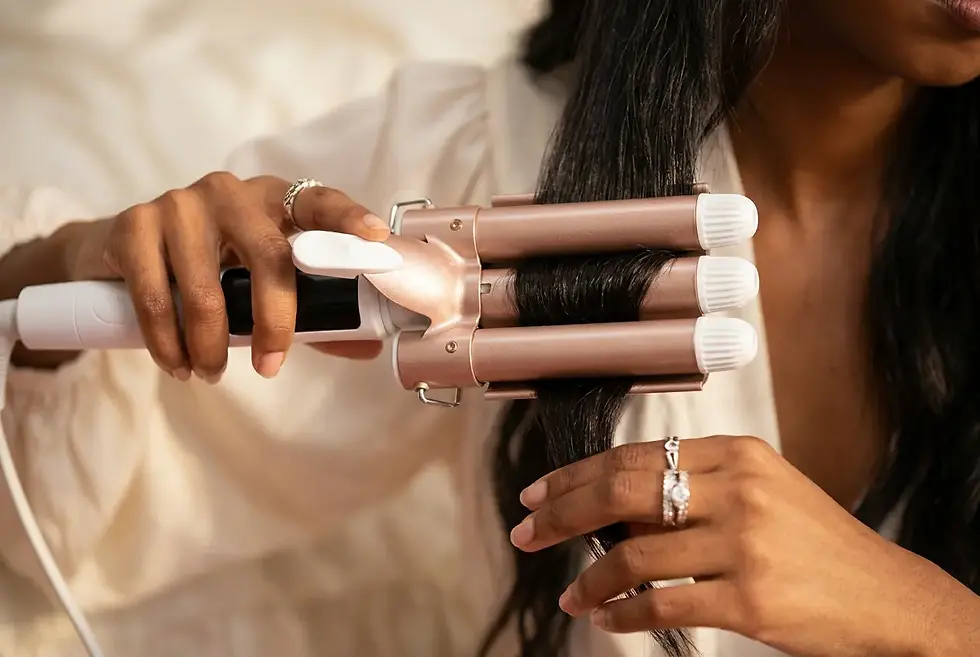
Here's where a lot of people get tripped up. The motion with a triple barrel waver is slightly different from a flat iron glide, and it takes a little practice.
Start close to the root — but not on it. Leave about an inch of root area unstyled. Waves that start right at the scalp can look stiff and unnatural. Starting slightly away from the root gives the style a more organic, flowing look.
Clamp, hold, release. Place the open barrels around your hair section, close the clamp, and hold it for about 5–8 seconds (less for fine hair, more for thick hair). Then release — don't drag the iron aggressively down the strand. Instead, slowly glide it downward to the next position and repeat the clamp-and-hold motion, overlapping slightly with the previous wave impression.
Keep consistent tension. Hold the end of your hair section taut with your other hand as you work down. This prevents the hair from bunching up inside the barrels, which creates uneven or kinked waves.
Don't rush. The temptation is to fly through the process, but quick, rushed clamping equals poorly defined waves that fall out within the hour. Patience is your best styling tool here.
Step 5: Direct Your Waves for a Natural Look
Here's a pro secret that makes a huge difference: alternate the direction of your sections slightly as you work across your head.
Rather than waving every section in exactly the same orientation, tilt the iron very slightly in alternating directions — angling it slightly forward on one section, slightly backward on the next. This mirrors the natural way waves fall on the hair and prevents that overly uniform, "too perfect" look that can read as stiff or costume-like.
Step 6: Set and Cool Before Touching
Once you've finished a section, don't touch it. This is crucial.
The wave sets as it cools. If you run your fingers through freshly waved sections while they're still hot, you'll immediately loosen and distort the pattern you worked so hard to create. Let each section cool completely — at least a minute or two — before moving on to any finishing work.
Some stylists like to gently pin or clip freshly waved sections to the head while they cool, which can help the waves set even more crisply. If you have a big event and want maximum definition, this extra step is worth the effort.
Step 7: Finish and Set
Once your entire head is done and cooled:
Break up the waves with your fingers — not a brush. Use your fingertips to gently separate and loosen the waves. This softens the texture from "just styled" to "effortlessly beautiful." Avoid brushes at this stage, which will turn your waves into frizz.
Apply a lightweight finishing product. A small amount of serum or hair oil worked through the ends adds shine and tames any flyaways without weighing waves down. Avoid heavy creams or butters on top — they'll make the style look greasy.
Lock it in with hairspray. A flexible-hold hairspray is ideal. Hold it 10–12 inches from your head and mist lightly, keeping the can moving. Don't drench — just seal. A light-hold spray gives you movement and longevity without the crunchy, helmet effect.
Common Mistakes to Avoid
Skipping heat protectant — This leads to dryness, breakage, and frizz over time.
Using sections that are too wide — Thick sections don't wave evenly; the middle of the section often stays straight.
Touching waves while hot — The number one wave-killer.
Starting too close to the scalp — Creates stiff-looking, unnatural roots.
Inconsistent hold time — Some waves will be tight, others barely there. Time yourself if you have to.
How to Make Waves Last Longer
If your waves tend to drop by midday, try these strategies:
Style on second-day hair instead of freshly washed hair — natural oils give the style more grip
Use a stronger-hold wave spray before styling
Sleep with waves loosely braided or piled into a bun to preserve them overnight
Touch up with a quick re-clamp on any sections that have relaxed
Final Thoughts

Achieving defined, gorgeous waves at home is absolutely within reach — it just requires the right prep, the right sections, and the right technique. Once you get comfortable with the tool and develop a rhythm, the whole process can take as little as 20–30 minutes.
The triple barrel waver is genuinely one of the most effective styling tools for creating consistent wave patterns from root to tip, and with the steps outlined here, you'll be well on your way to results that look like you just walked out of a salon.
Practice makes perfect — and your best wave day is just ahead.

Jacqueline Ramirez
Founder of Luxe + Willow | Beauty Executive | Product Development & Retail Strategy Expert
Jacqueline Ramirez is the New York-based founder of Luxe + Willow and a seasoned beauty industry executive with over a decade of experience bringing beauty brands to life at the national retail level. As VP of Beauty at MiWorld Accessories, she leads a division representing some of the company's most impactful categories — from product development to retail strategy.
She built Luxe + Willow from a genuine belief that beauty should be well-curated, not overwhelming — a space where every recommendation comes with real industry knowledge behind it. Beyond the boardroom, Jacqueline has a natural eye for the tools, rituals, and finds that actually deliver. She shares that expertise here, with the same precision and passion she brings to everything she does.
Comments